From Concept to Creation: Understanding the 3D Printing Process


Introduction to 3D Printing
3D printing, also known as additive manufacturing, has revolutionized the way we approach design and production. It allows for the creation of complex structures and designs that were previously impossible or too costly to produce using traditional methods. From prototyping to final product creation, 3D printing offers immense possibilities across various industries.
The process of 3D printing is a fascinating journey from concept to creation. It involves several stages, each crucial to the successful fabrication of a three-dimensional object. Understanding these stages can help enthusiasts and professionals alike to unlock the full potential of this innovative technology.
Designing the Model
The first step in the 3D printing process is designing the model. This is typically done using computer-aided design (CAD) software. Designers create digital blueprints of the object, carefully considering its shape, size, and functionality. Precision at this stage is vital as it directly influences the quality of the final print.
Once the design is completed, it’s converted into a file format that a 3D printer can interpret, usually STL (stereolithography) or OBJ (object) format. This file contains all the necessary information about the model’s geometry and structure.
Choosing the Right Material
After designing the model, the next step is selecting the appropriate material. The choice of material depends on the intended use of the final product and its required properties, such as strength, flexibility, or heat resistance. Common materials used in 3D printing include plastics like PLA and ABS, metals, resins, and even ceramics.

Preparing for Printing
Before printing begins, the chosen material is loaded into the 3D printer. The printer needs to be calibrated to ensure precision in the printing process. This involves setting parameters such as temperature, speed, and layer height, which can vary depending on the material and complexity of the model.
The model file is then imported into slicing software. This software divides the model into thin horizontal layers that the 3D printer will build upon, layer by layer. Slicing is an essential step as it determines how the printer will construct each layer and affects the overall strength and appearance of the final object.
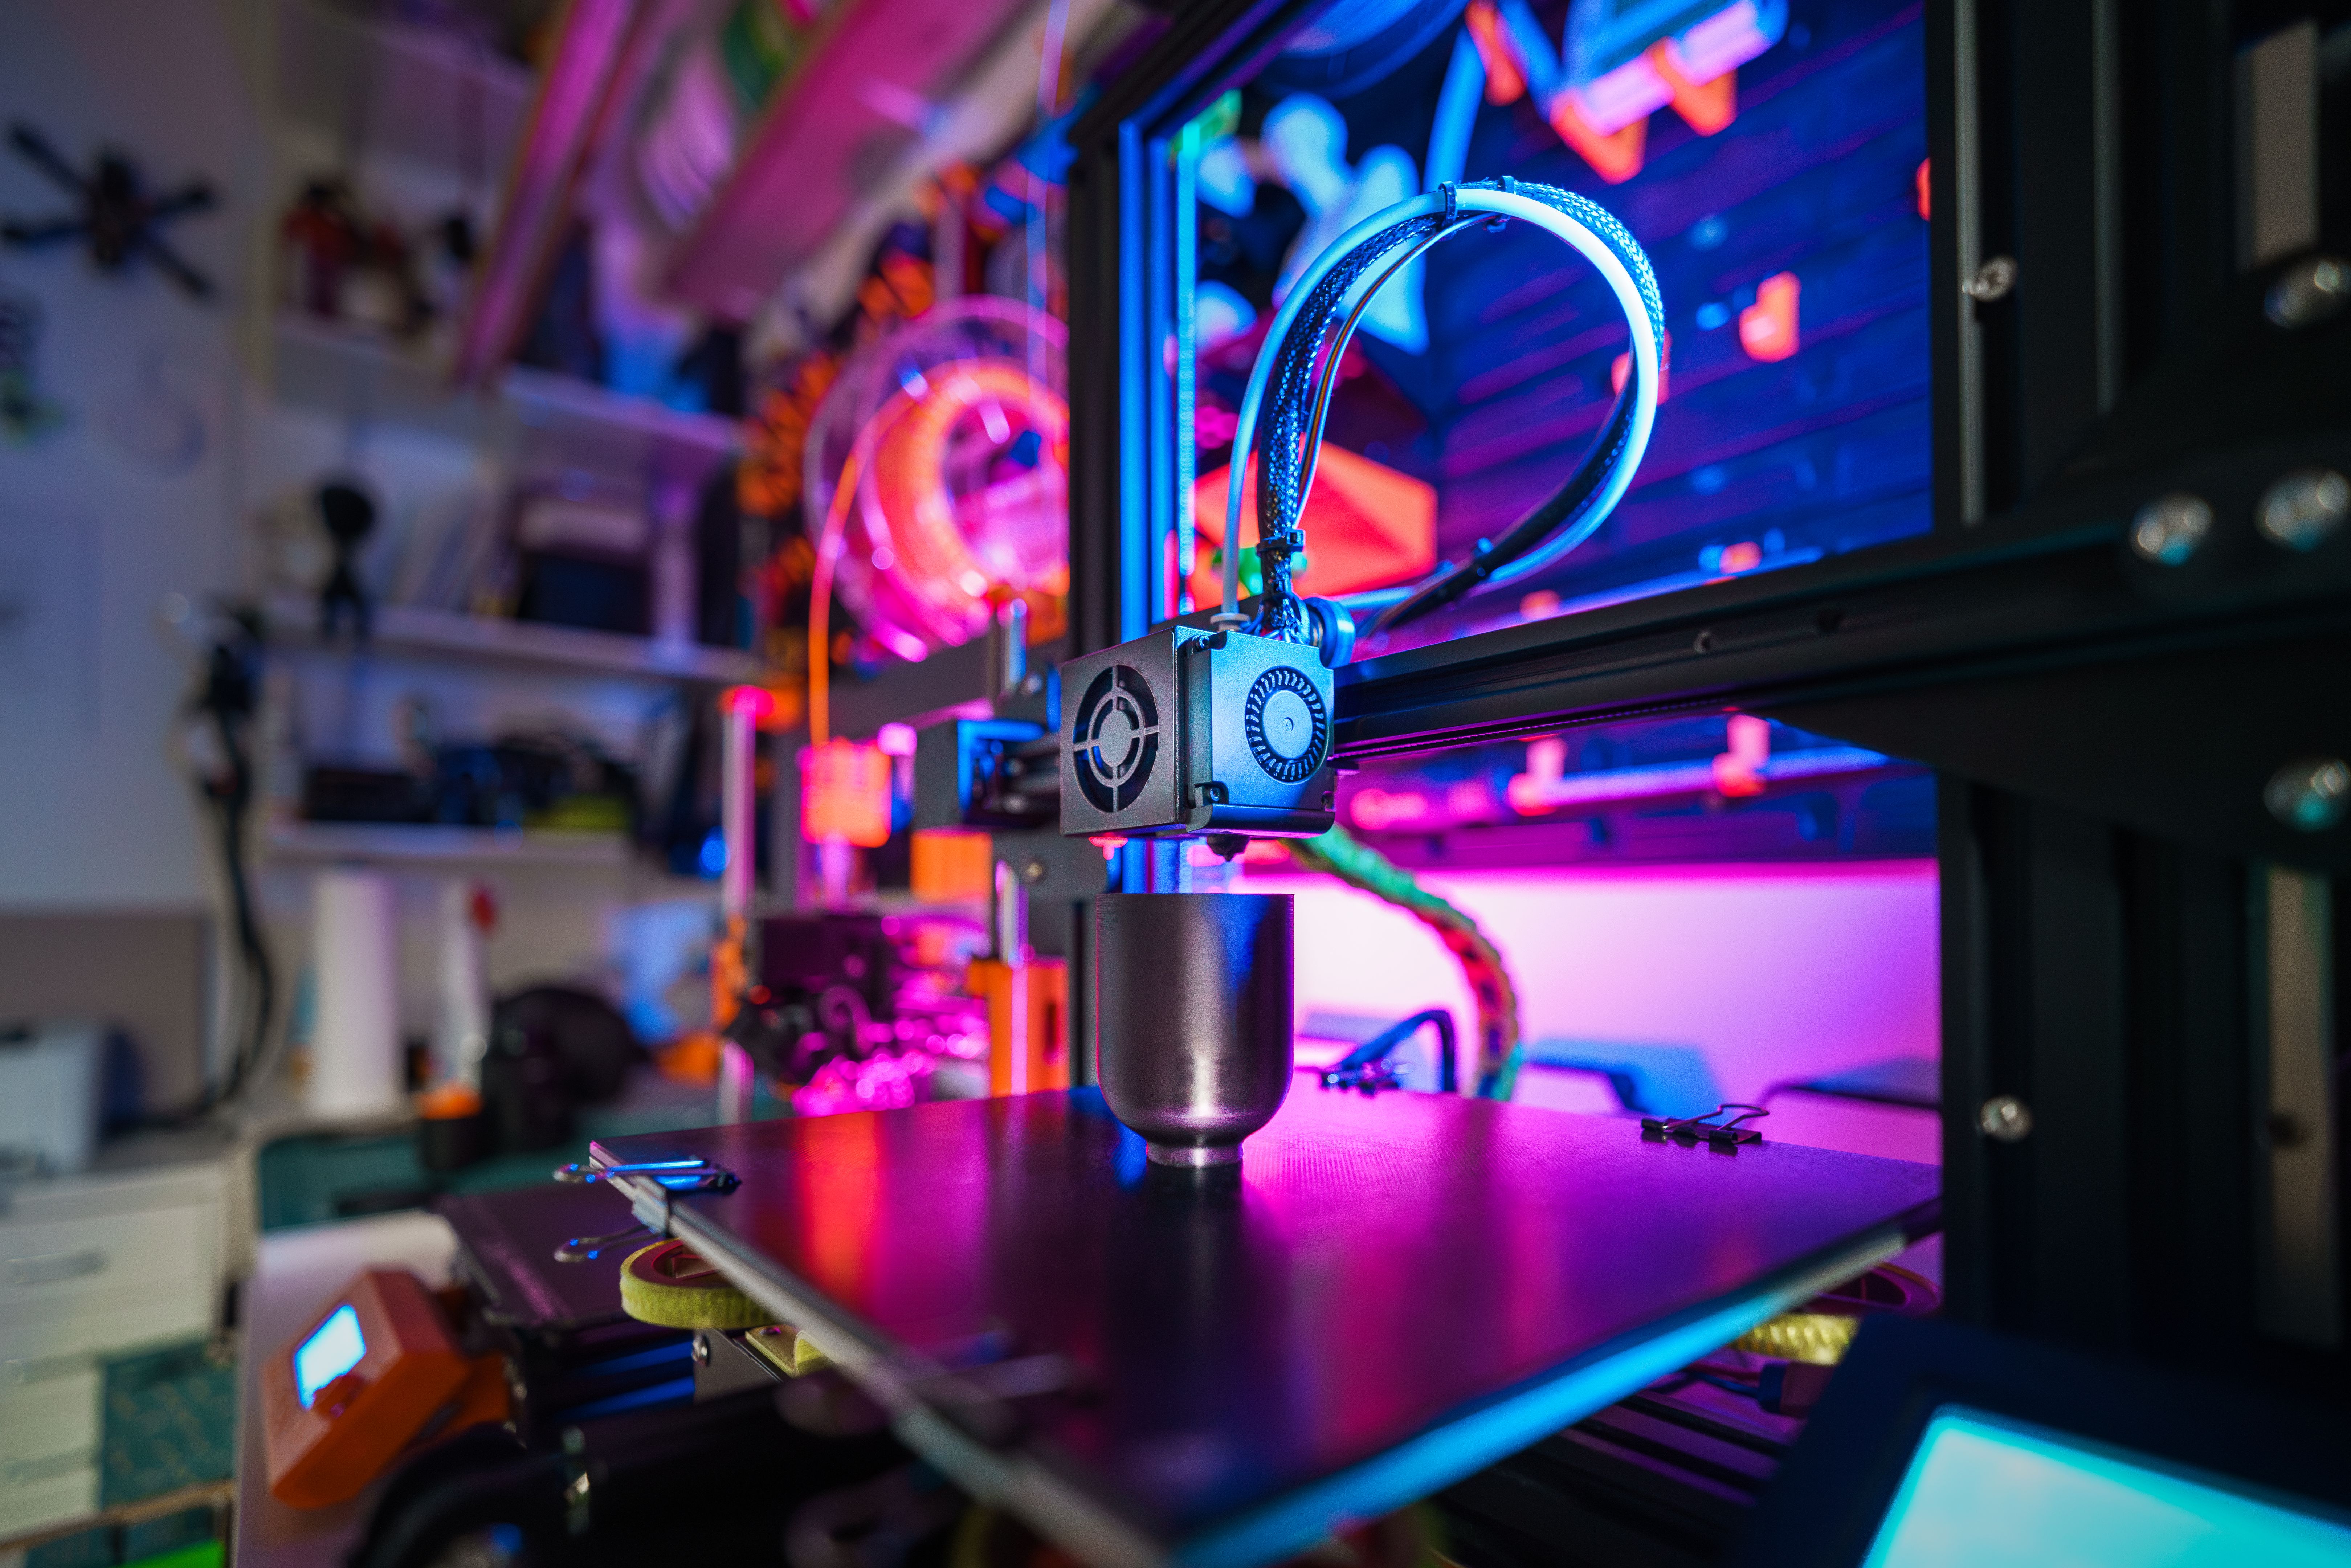
The Printing Process
With everything set up, the actual printing process begins. The 3D printer follows the instructions from the sliced file, depositing material layer by layer until the entire object is formed. Depending on the size and complexity of the model, this process can take anywhere from a few minutes to several hours.
Post-Processing and Finishing
Once printing is complete, post-processing steps are often required to enhance the appearance or function of the printed object. This can include removing support structures used during printing, sanding surfaces for a smoother finish, or applying paints and coatings for aesthetic purposes.
Some materials may also require additional curing or hardening processes to reach their full strength and durability. Post-processing is an opportunity to refine and perfect the printed item, ensuring it meets all desired specifications and standards.
Applications of 3D Printing
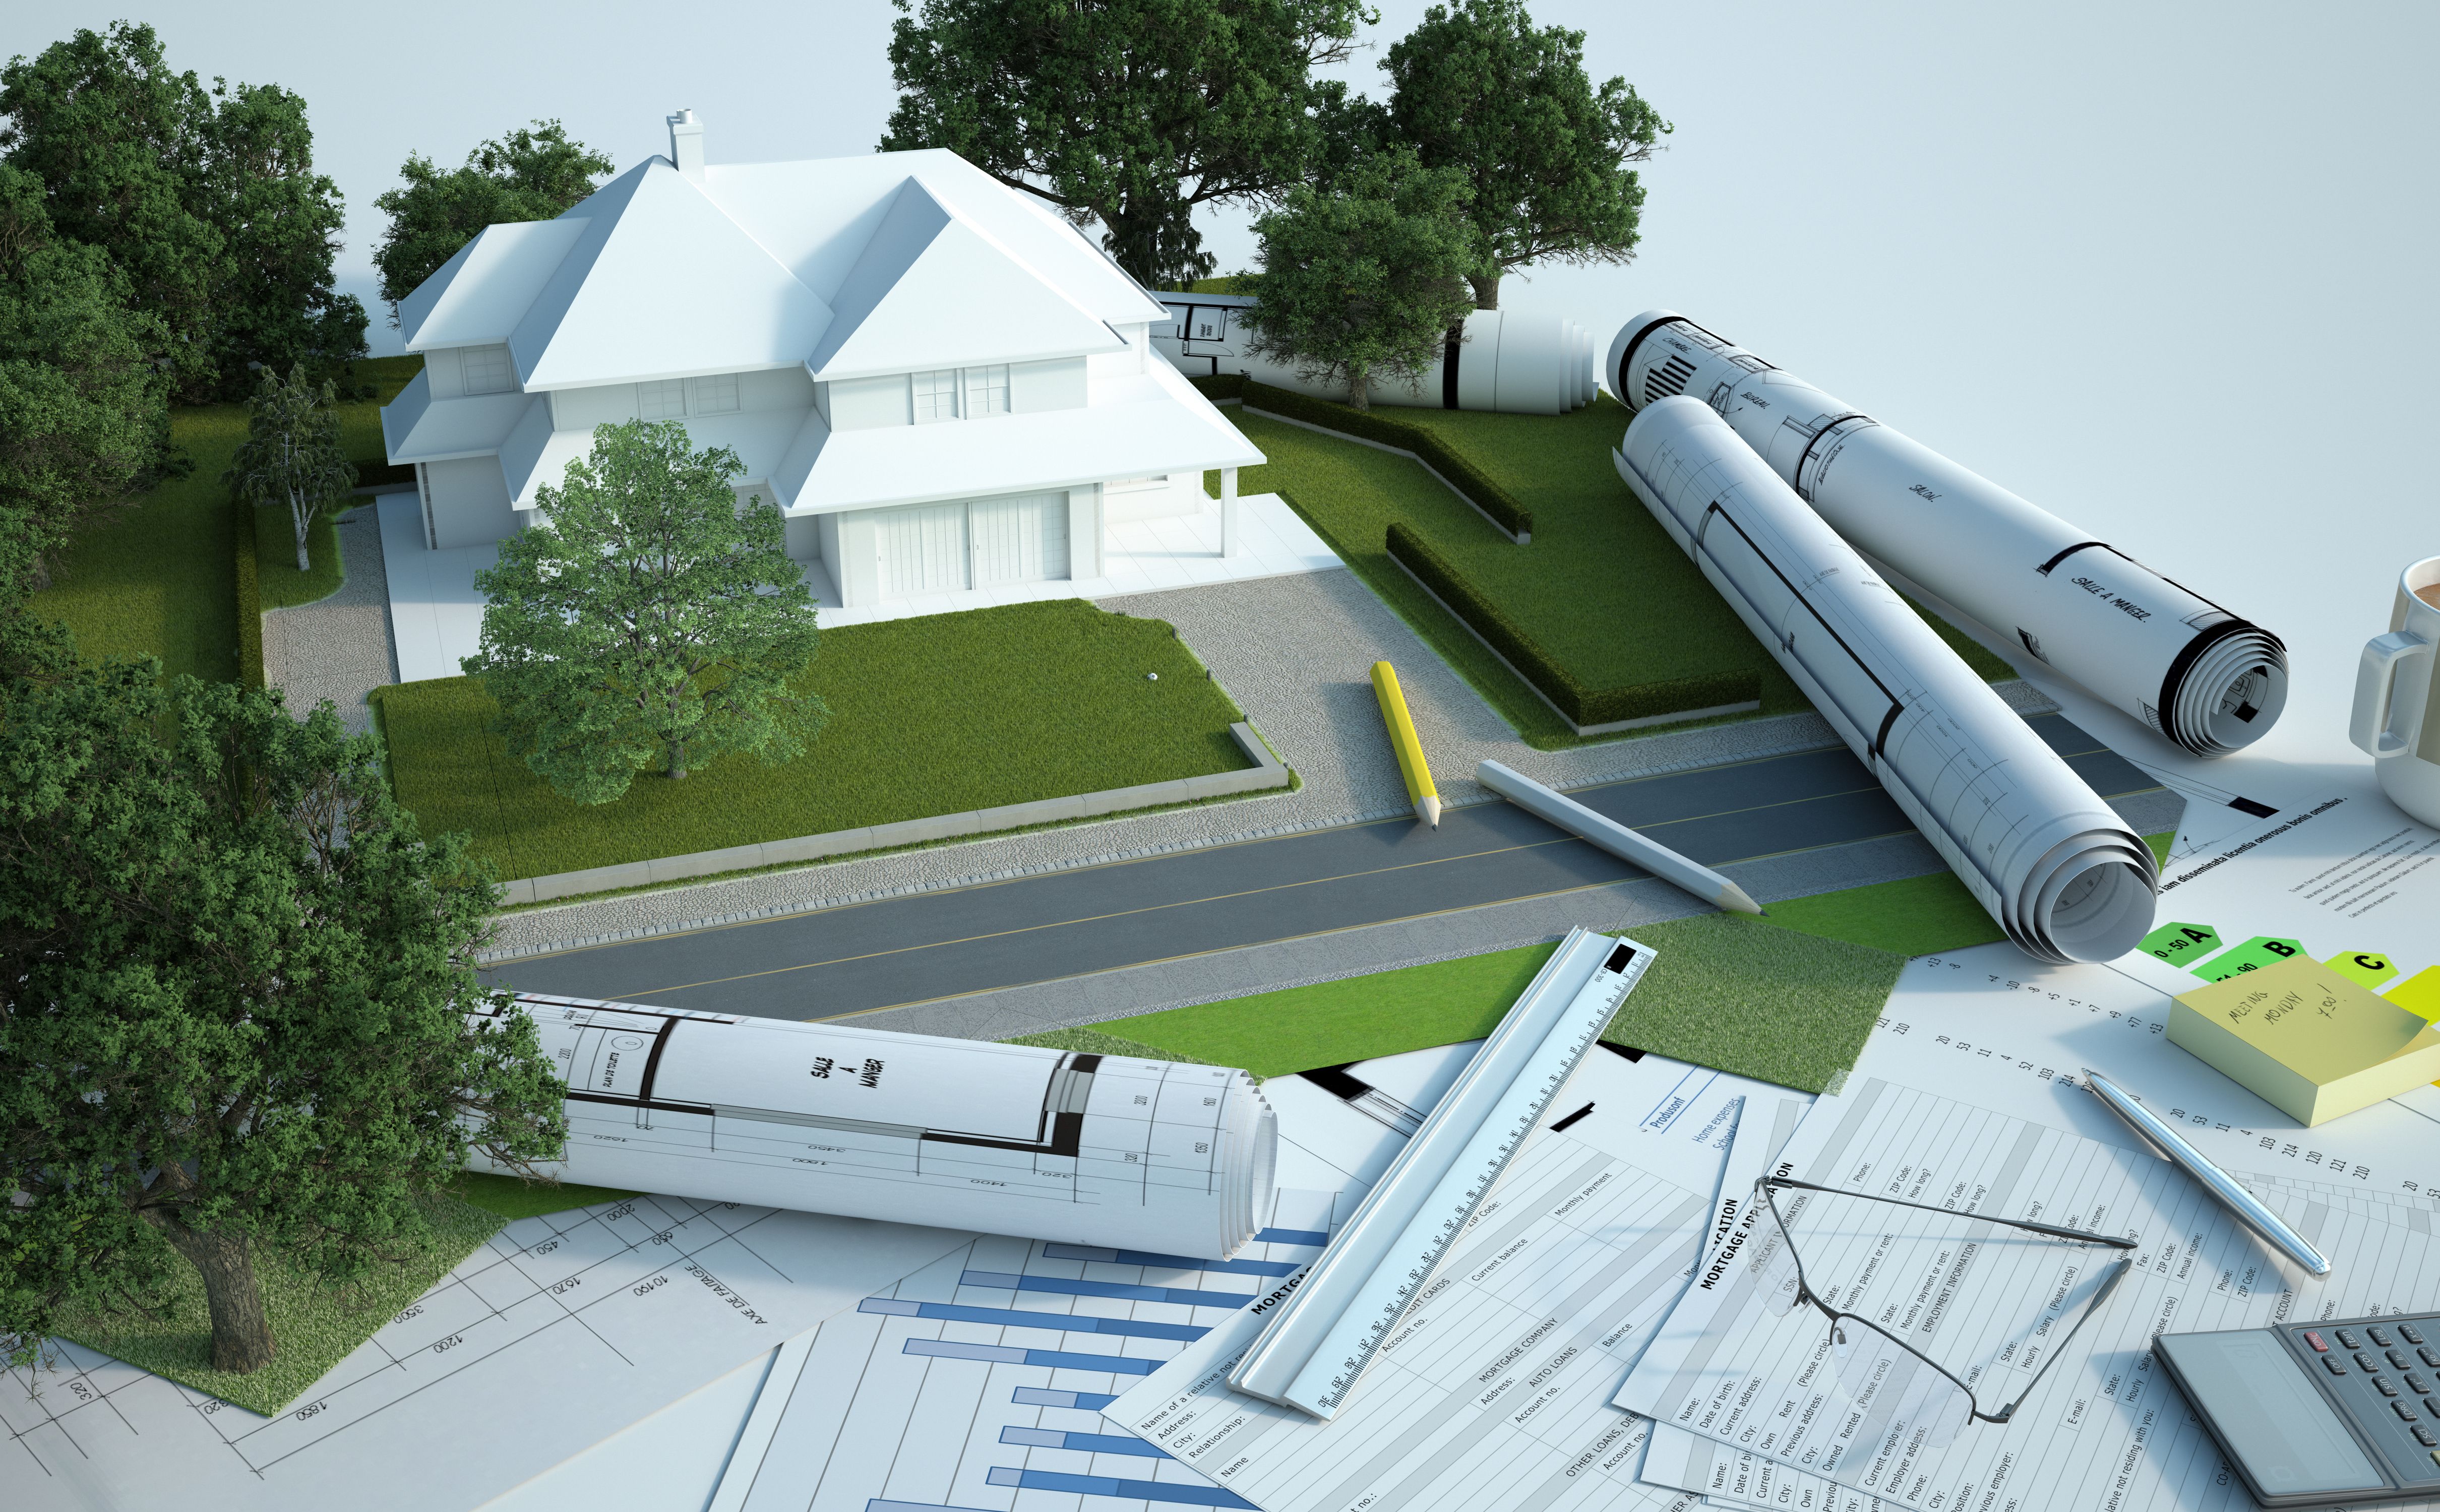
The versatility of 3D printing has led to its adoption across numerous industries. In healthcare, it’s used to create custom prosthetics and medical devices. The automotive industry benefits from rapid prototyping and lightweight parts manufacturing. Meanwhile, architects use it to produce intricate models and scale representations of their designs.
Conclusion
From concept to creation, the 3D printing process embodies creativity, precision, and technological advancement. As this technology continues to evolve, it promises even greater innovation and application possibilities in various fields. Whether you are a hobbyist or a professional, understanding each step of this process is key to harnessing its full potential.